How to Achieve the Perfect Magnolia Nails at Home
Nails are more than just an extension of beauty; they are a form of self-expression. Magnolia Nails is a chic and elegant trend that is gaining popularity, known for its simple yet sophisticated floral designs inspired by the magnolia flower.
You may think this delicate design requires a professional touch, but achieving Magnolia Nails at home is easier than it seems! This guide will walk you through the process step-by-step so you can get salon-quality Magnolia Nails without leaving your home.
What Are Magnolia Nails?
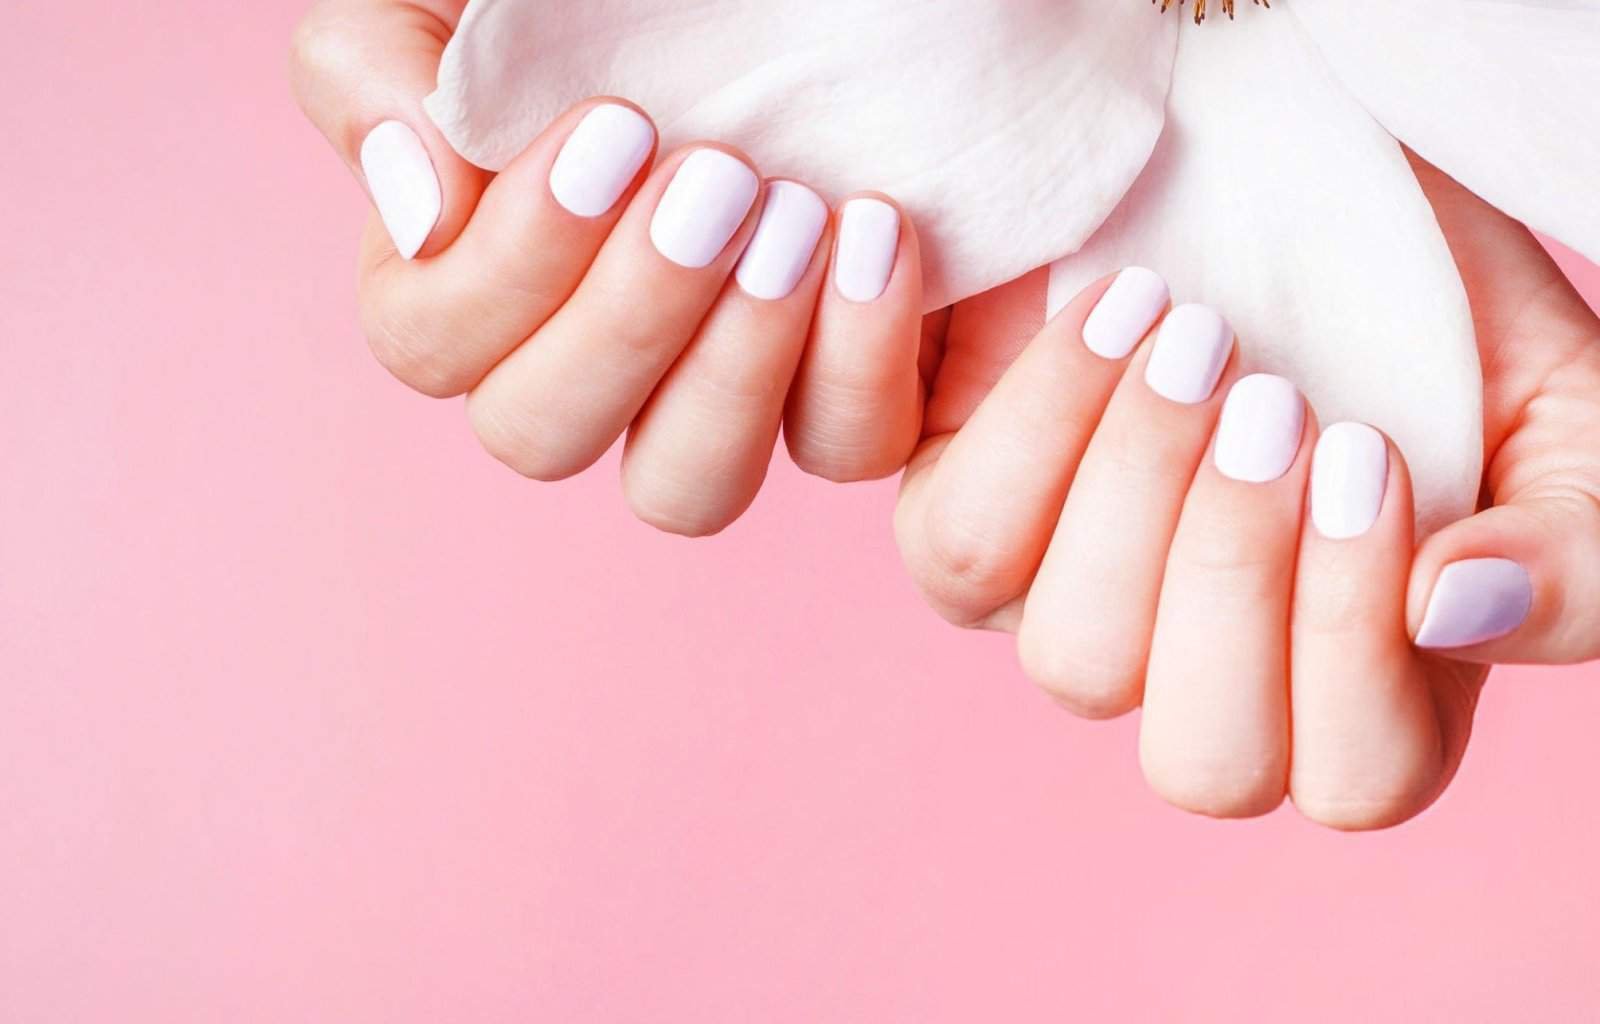
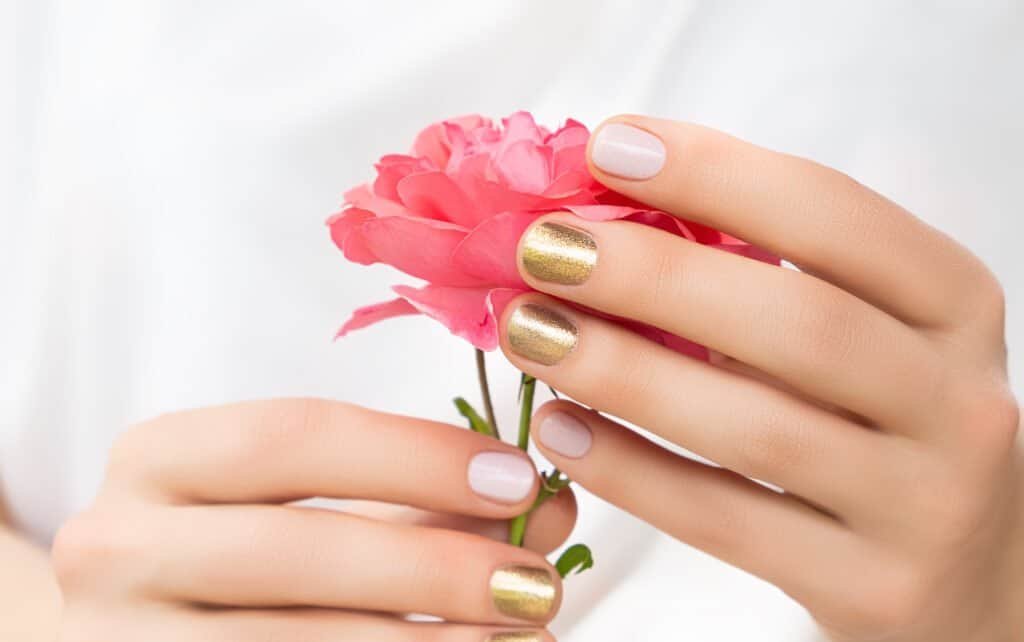
Magnolia Nails draw inspiration from the graceful, charming magnolia flower. These designs often feature minimalist white and pink hues, with soft, petal-like accents that are subtle yet impactful. The style can range from a single magnolia blossom on an accent nail to a full bouquet spread across all nails.
Why Magnolia Nails are Trending?
There’s something serene about magnolia-inspired designs. With their classic color schemes and elegant aesthetics, Magnolia Nails fit into any occasion—be it casual, formal, or even bridal events. Here are a few reasons why they’re becoming a fan favorite:
- Versatility: Blossom Nails can be both subtle and sophisticated, making them suitable for everyday wear or special occasions.
- Timeless Elegance: Soft floral designs never go out of style and fit every season.
- Personal Touch: Magnolia-inspired designs offer flexibility for different levels of complexity, allowing nail enthusiasts to experiment.
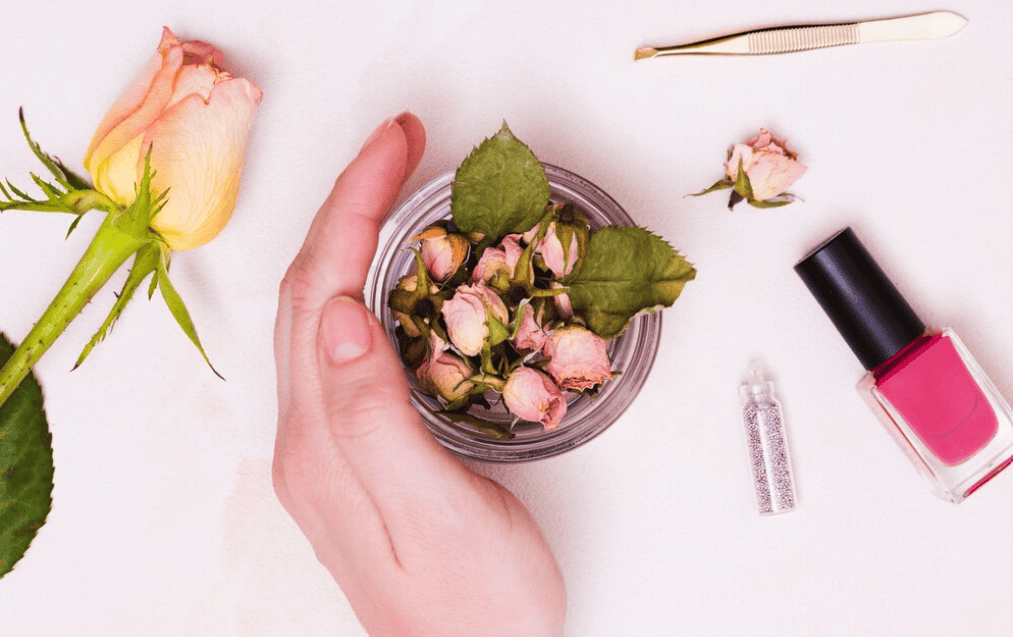
Tools You Need for Magnolia Nails at Home
Before you get started, it’s essential to have all the tools ready. The right tools can make all the difference in achieving a polished, professional look.
1. Basic Manicure Tools
2. Nail Polish Essentials
- Base coat: To protect your nails and prolong the design.
- White polish: For creating the magnolia petals.
- Pink or beige base color: To resemble the magnolia flower’s soft tones.
- Top coat: To seal and protect your design.
3. Nail Art Tools
- Fine-tipped brush: Essential for drawing petals and tiny details.
- Dotting tool: To create flower centers or additional embellishments.
- Striping tape: Useful if you want to create crisp edges or geometric designs.
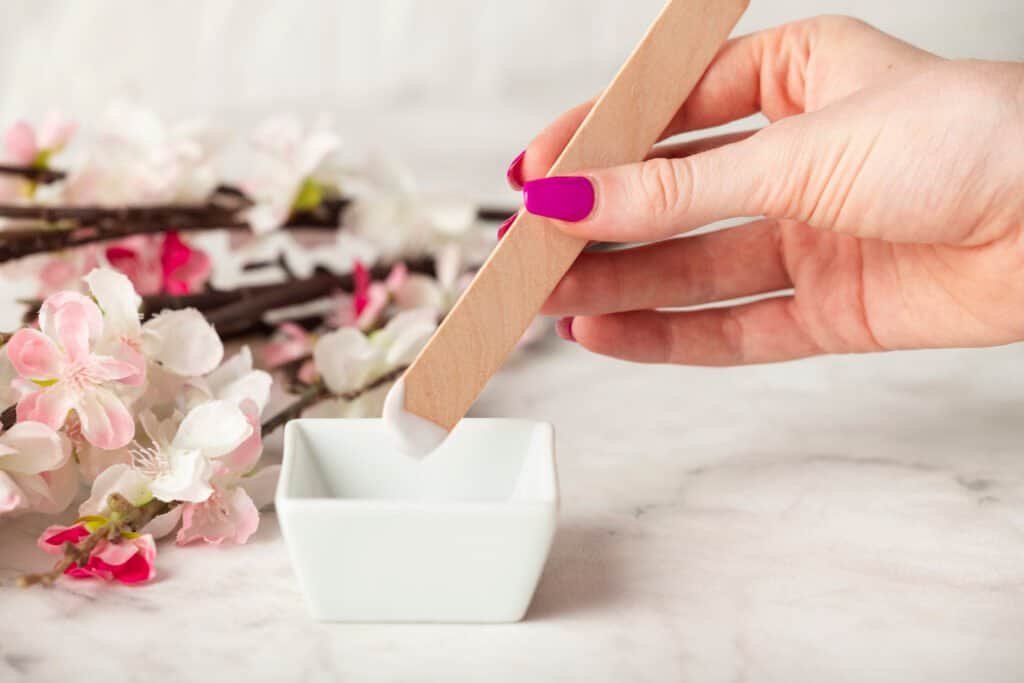
Prepping Your Nails for Magnolia Designs
To create stunning Magnolia Nails, it’s crucial to start with a clean canvas. Here’s a step-by-step guide to prepping your nails for the design process:
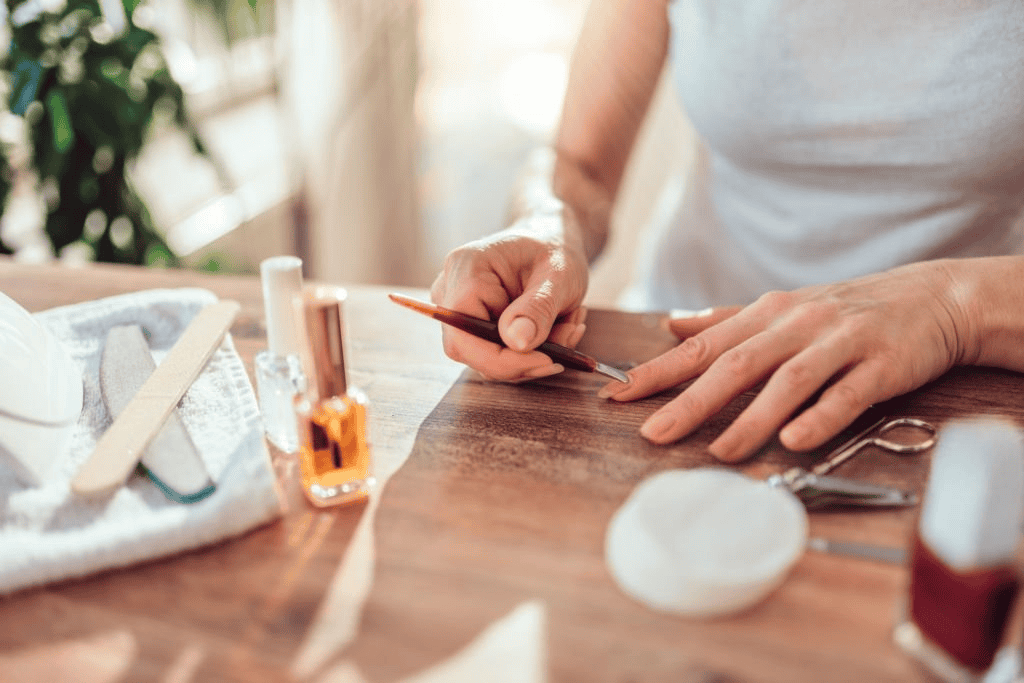
1. Clean and Shape Your Nails
Start by removing any old polish and washing your hands thoroughly. File your nails to the desired shape (oval, almond, or square). Buff the surface lightly to ensure a smooth application of nail polish.
2. Take Care of Your Cuticles
Push back your cuticles gently using a cuticle pusher. This step helps your nail designs look neat and professionally done.
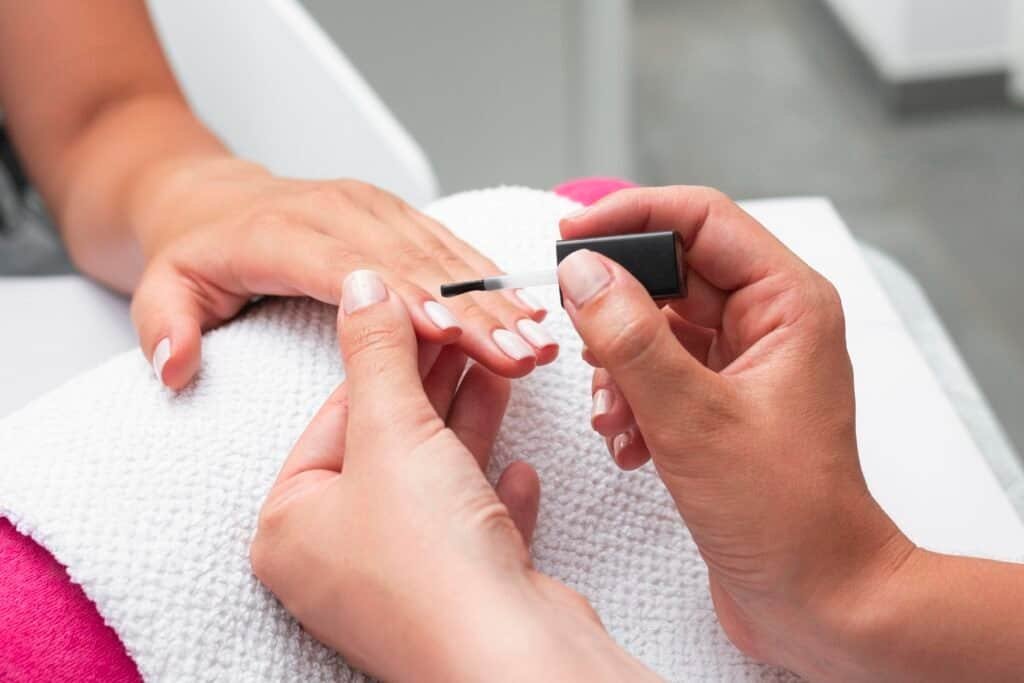
3. Apply a Base Coat
Applying a base coat is crucial. It not only helps the color adhere better but also protects your nails from staining and keeps them healthy.
Step-by-Step Guide to Achieving Magnolia Nails at Home
Now comes the fun part—creating your Magnolia Nails! Follow these steps for a gorgeous, salon-like manicure:
1. Choose Your Base Color
Start by applying your base color. A neutral pink or beige polish works best to mimic the natural shades of magnolia flowers. Apply two thin coats, allowing each to dry completely before moving on to the next.
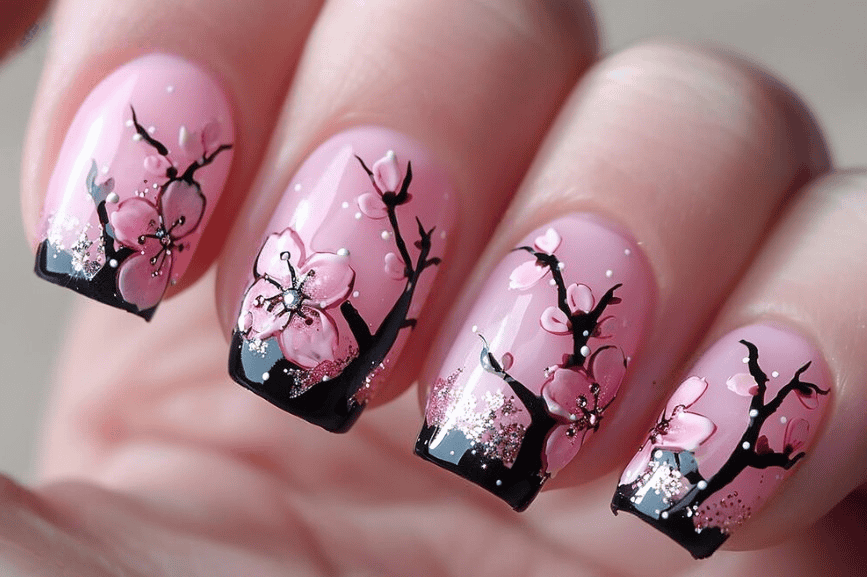
2. Create the Magnolia Petals
- Use a Fine Brush: Dip your fine-tipped brush into white polish. Draw a few elongated oval shapes to create the petals.
- Layer for Depth: For a more realistic look, add a few layers, making some petals darker than others. This technique mimics the layered appearance of real magnolia petals.
3. Add Details with a Dotting Tool
Using a dotting tool or a toothpick, add small yellow or gold dots in the center of each magnolia flower to represent the flower’s stamen.
4. Seal with a Top Coat
Once you are satisfied with your design, apply a glossy top coat. This step adds a beautiful shine and protects your nail art from chipping.
Magnolia Nail Variations to Try
One of the best things about Magnolia Nails is their versatility. Here are some variations to experiment with:
1. Minimalist Magnolia Accent Nail
Keep things simple with a single magnolia flower on your ring finger while keeping the rest of your nails neutral.
2. French Magnolia Tips
Add a twist to the classic French manicure by painting small magnolia designs along the white tips.
3. Magnolia Ombre
Start with a gradient base using pink and white polishes, and then add magnolia accents on top.
Tips for Achieving the Perfect Magnolia Nails
Creating flawless Magnolia Nails can be a bit of a learning curve, but these tips will help you achieve the perfect look:
- Use Thin Layers of Polish: Thick layers can cause your polish to bubble or smudge. Patience is key!
- Practice the Petal Technique: Practice drawing petals on a piece of paper or an old plastic card before attempting them on your nails.
- Invest in Good Brushes: Cheap, flimsy brushes make detailed work difficult. Invest in quality nail art brushes for the best results.
Why You Should Consider Magnolia Nails & Spa Services?
If you want to perfect your Magnolia Nails or explore new designs, visiting a professional can be a great option. Places like Magnolia Nails & Spa or Milano Nail Spa Magnolia are known for their quality services and expert nail artists. Whether you are in Magnolia, Texas, or any other location with a dedicated Magnolia Nail Spa, these establishments can provide you with expert designs and guidance on maintaining healthy nails.
DIY Magnolia Nails vs. Professional Magnolia Nails & Spa
While DIY nails are cost-effective and fun, nothing beats a professional touch. A visit to Magnolia Nails and Spa or Milano Nail Spa Magnolia can offer:
- Expert Advice: Professionals can recommend nail treatments and care tips based on your specific needs.
- Relaxation and Pampering: A spa visit isn’t just about the nails—it’s a full experience of self-care and relaxation.
- Long-lasting Results: Salons use high-quality products and techniques, ensuring that your manicure lasts longer.
Maintaining Your Magnolia Nails at Home
Once you’ve achieved your Magnolia Nails, it’s essential to take care of them to keep them looking fresh. Here are some maintenance tips:
1. Moisturize Regularly
Dry cuticles can ruin even the most beautiful designs. Apply cuticle oil and hand cream daily to maintain softness.
2. Avoid Excessive Water Exposure
Prolonged exposure to water can cause your nail polish to chip. Use gloves when doing dishes or cleaning.
3. Reapply Your Top Coat
Adding a layer of top coat every few days helps to refresh the shine and extend the life of your manicure.
Conclusion
Magnolia Nails are a beautiful way to express your creativity and embrace an elegant, timeless look. Whether you’re a DIY enthusiast or prefer visiting a Magnolia Nails & Spa, this guide provides everything you need to know to achieve the perfect Magnolia Nails at home. From prepping your nails to adding those final artistic touches, remember that practice makes perfect. So, gather your tools, play some relaxing music, and get started on your Magnolia-inspired masterpiece!
Frequently Asked Questions (FAQs)
Q1: Can beginners achieve Magnolia Nails at home?
Absolutely! Magnolia Nails are beginner-friendly, especially with practice and the right tools. Start simple and gradually add more details as you gain confidence.
Q2: What’s the average time to complete a Magnolia Nails design?
Depending on your experience level, Magnolia Nails can take between 30 to 60 minutes. Professionals may finish quicker, but the end result is worth the time investment.
Q3: What are some alternative colors for Magnolia Nails?
While pinks and whites are traditional, don’t hesitate to experiment with lavender, baby blue, or even soft peach for a unique look.
Q4: How long do Magnolia Nails typically last?
With proper care and a good top coat, your Magnolia Nails can last up to two weeks without chipping or fading.
Q5: Can I do Magnolia Nails on acrylic extensions?
Yes, Magnolia designs look great on acrylic extensions too! They provide a larger canvas, which is perfect for intricate flower designs.
By following this guide, you can achieve stunning Magnolia Nails that are sure to turn heads and capture attention. Now, it’s time to get creative and show off your beautiful nails!